Here are 5 tips the best lighting for food photography can help you master all the knowledge of lighting and photography to make your feed the envy of all your friends and followers.
The setting of food photography starts with light. The most common type of light created for food photography is soft light. Since food is desktop photography, you don't actually need a lot of equipment to start. Here are 5 tips that food photography with ring light to make your feed the envy of all your friends and followers.
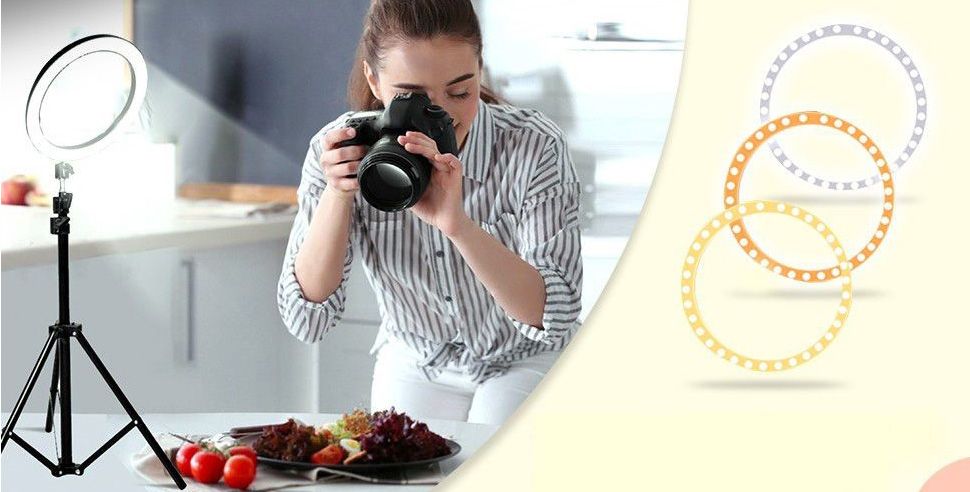
Photographing food for social media (Instagram, Facebook, Pinterest, etc.)
- Lighting Settings
- Sunlight
Can I Use Ring Light for Food Photography?
For beginners, the best advice for food photography with smartphone is to start with daylight. Daylight may be difficult to use, but it is also the most flattering light in food photography. It can change color, quality and intensity, which will drive you crazy, but it will also produce beautiful effects and happy accidents.
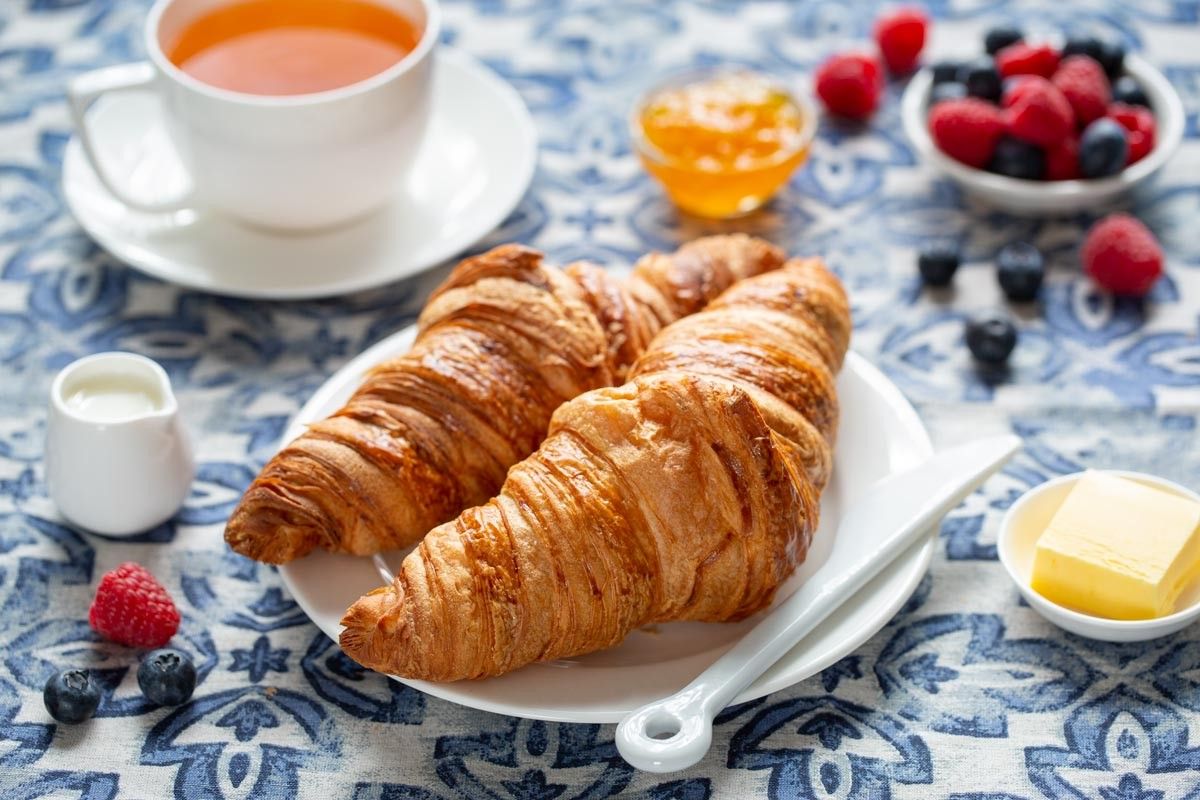
Place the food table near the window, let the light enter from the side and be slightly higher than the food, and then install the camera on a tripod above the scene. If the light is too hard, you can use simple tools (such as a mirror, a reflector and white cardboard) to create a beautiful effect, and you will be surprised.
Softbox for Professional Photography
Professional lighting equipment is very expensive, but the light is amazing. Your first decision will be whether to use flash or continuous light. Both their have unique advantages and disadvantages and many brands worth coveting.
Part 1: Set Ring Light for Smartphone Food Photography
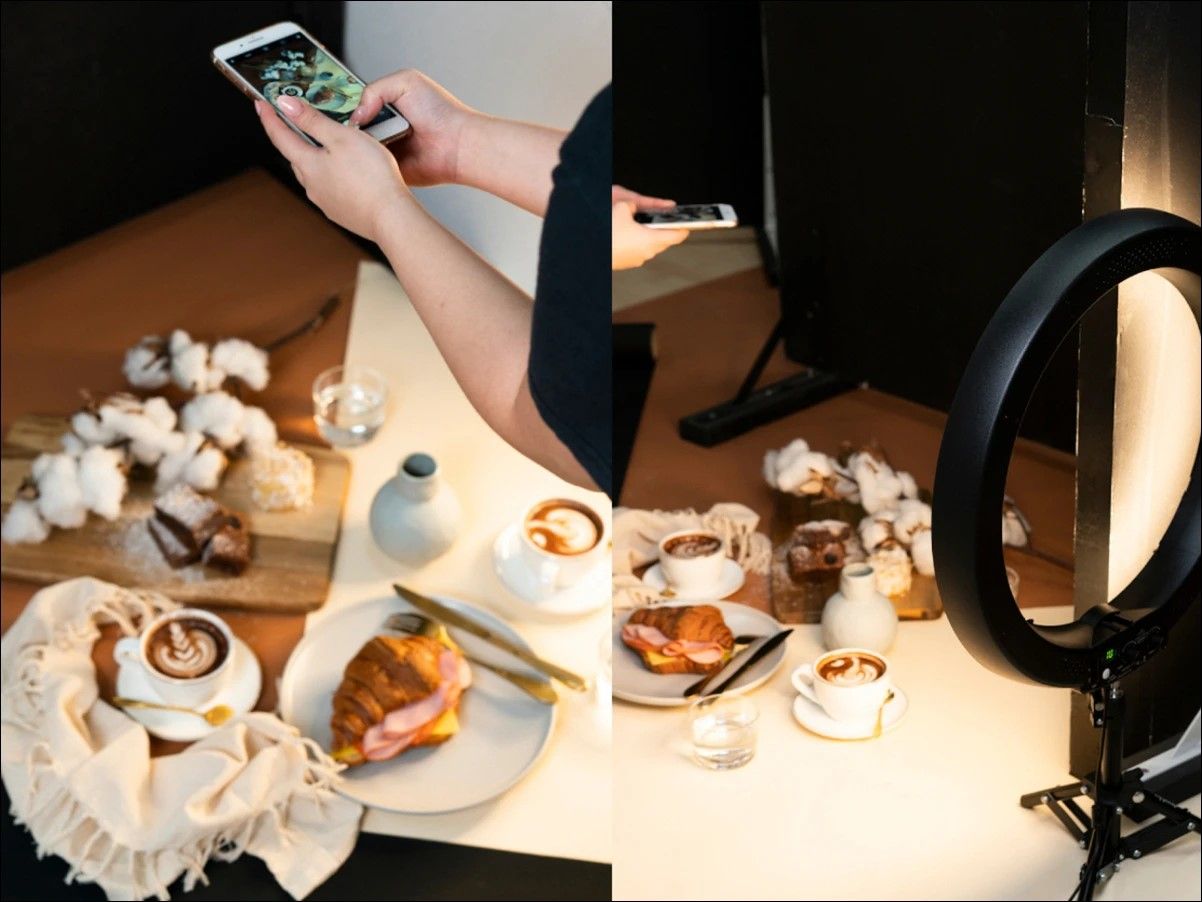
Clamp the ring light to a tripod, chair or other object. You can easily adjust the direction of the light by moving the lamp up and down or to the side. In addition, keep a certain distance between the light and the table.
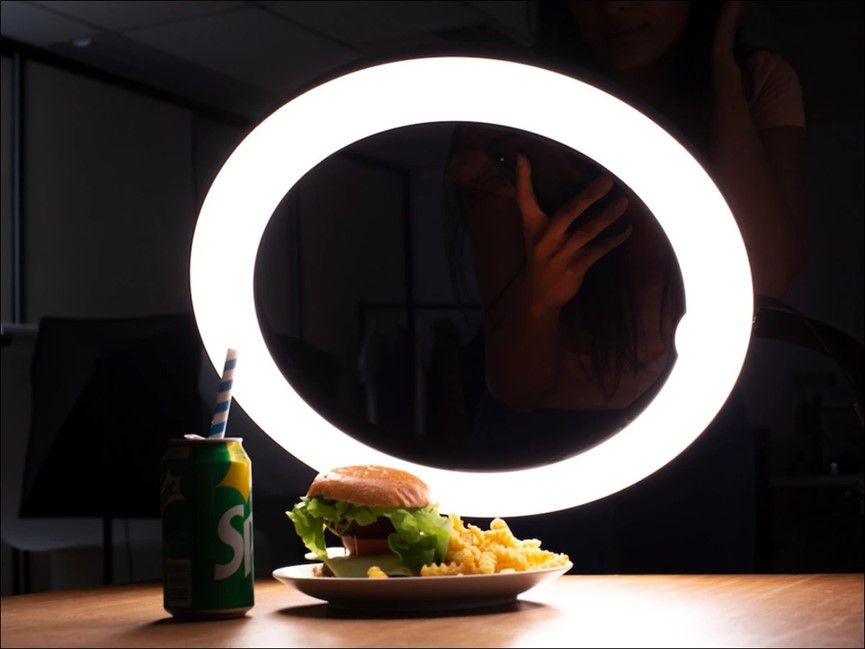
1. The ring light is placed behind the food, and the 80% power setting is sufficient to provide enough light without overshadow some brighter elements.
2. Generally, it is best to place the camera on a tripod in the middle of the ring light for the most uniform illumination. The universal gimbal of the tripod makes it very easy to adjust the angle of the camera on the tripod, and it only takes a few seconds to adjustment.
3. Move the ring light to eliminate some of the intense shadows. By repositioning the ring light, the food in the bowl is more even, and the shadows in the entire photo can be softer.
Part 2: Background
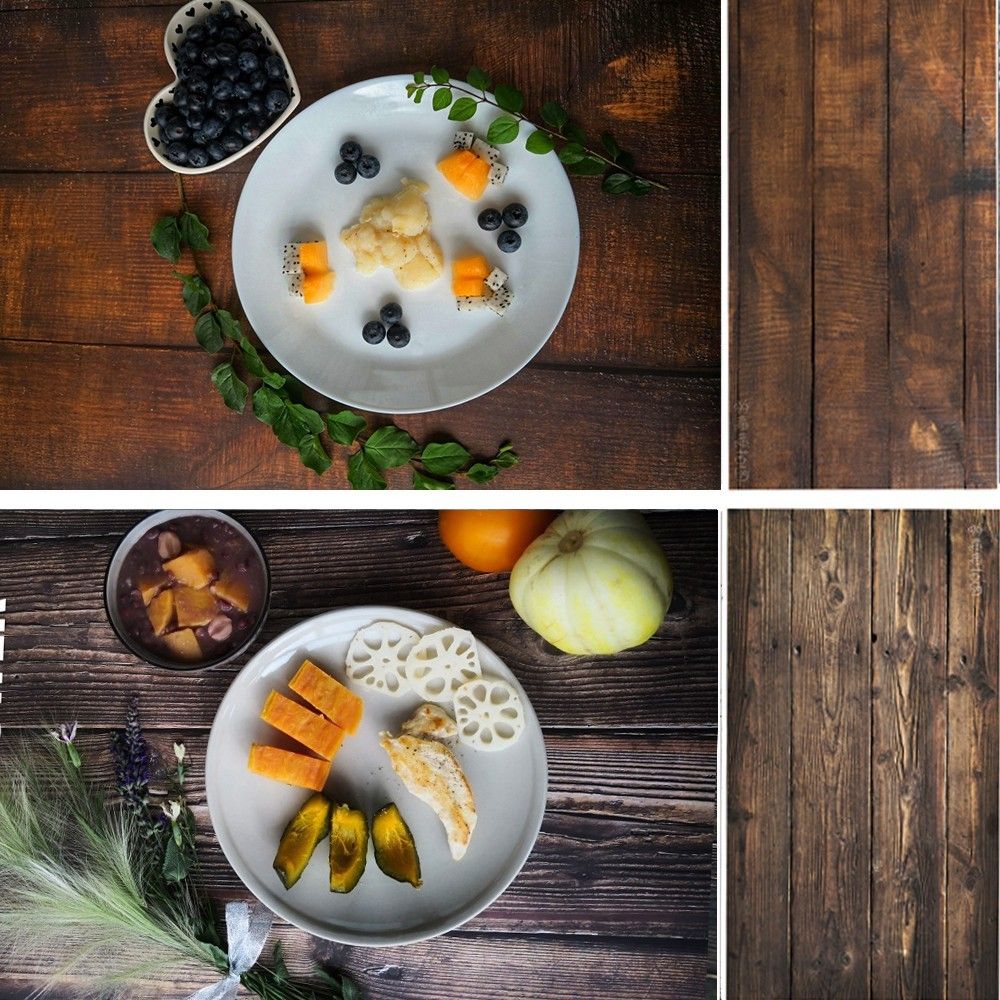
You also need some food photography backgrounds, which can be changed to keep it interesting. If your brand involves a specific color, you can find a matching or complementary color that suits it. Prepare some backgrounds that are warm or have personal characteristics. All feed uses the same style of background, which will make it easier for your fans to remember your work and channel.
Part 3: Adjust Lighting
The side of the food that is closer to the ring light absorbs lighter and is brighter. If you feel that the other side is dark (especially when shooting on a dark surface or dark background), you can add a reflector to reflect some light back into the surface. Folded white paper or cardboard works well.
Try to use the size of the reflector,
the distance and angle from the food, and then see how the reflector changes
the light.
If you like this setting, please set up another light and add it to the light shelf. You will get double the power and can illuminate a larger scene.
Part 4: Professional iPhone Food Photography
1. Get
closer instead of using the zoom function on your phone lens
2. Choose
the most attractive feature or area to focus on, such as the center of a dish
or the layers of cake.
3. Choose
your angle carefully. You don't always have to take photos from top to bottom,
sometimes the side angle is better for the food in the bowl.
4. Try
to use props and utensils to make sure your plate is not broken, and clean up
all the food spilled from the side of the plate to get the best appearance.
5. Use
photo editing apps for best results. Don't overuse filters, but adjust
brightness, saturation and contrast.
6. Darkness
is easier. When using a single light setting, darker surfaces and images
falling on the mid-tone or darker side of the histogram are easier to handle.
7. Avoid white. If you are just a beginner, avoid using a white shooting surface and taking a lot of white images. Unless you understand how the height and distance of the light affect the final result, you may encounter exposed photos.
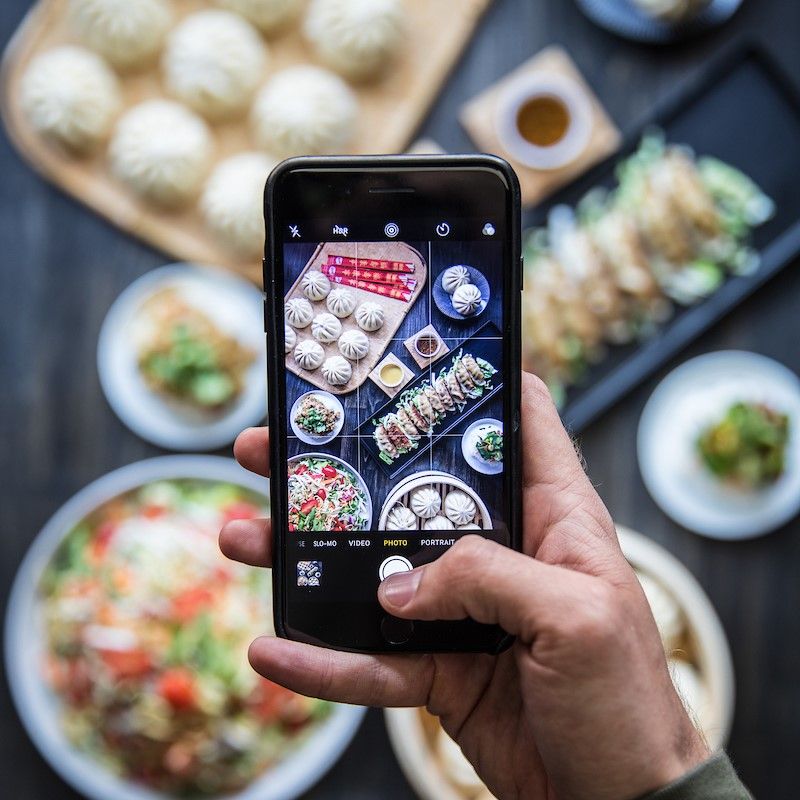
If you like to share your daily life on Instagram, you must invest in ring lights. You can get good lighting effects at a relatively cheap price. Ring lights are very suitable for food photography, because the ring light for iphone food photography allows you to illuminate all the food in the lens.
Related
Articles:
What
Does a Ring Light Do for Makeup?


