Many newer for live streaming want to learn the lighting settings of the live studio, so that the video and photo effects can capture the audience's attention, and also make your skin look more beautiful and make you more confident. Here we will tell you how to setup ring light for streaming?
Many newer for live streaming want to learn the lighting settings of the live studio, so that the video and photo effects can capture the audience's attention, and also make your skin look more beautiful and make you more confident. Here we will tell you how to setup ring light for streaming?
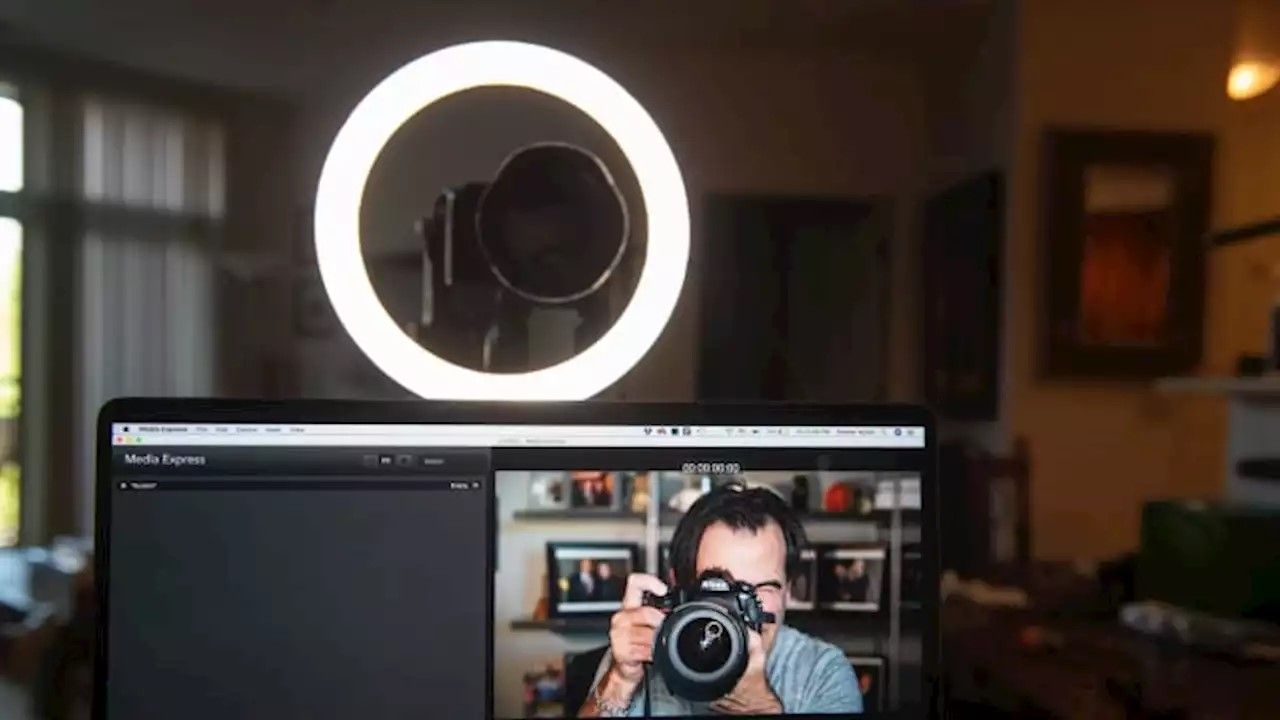
Why Should Use Ring Lights?
The circular design of the ring light
can provide uniform and soft light, minimize shadows and display the desired
color. For some reason, it is an essential tool for makeup bloggers and
vloggers. Investing in high-quality led ring lights can still provide you with
streamlined lighting, and the price is usually lower than most Softboxes for
photography.
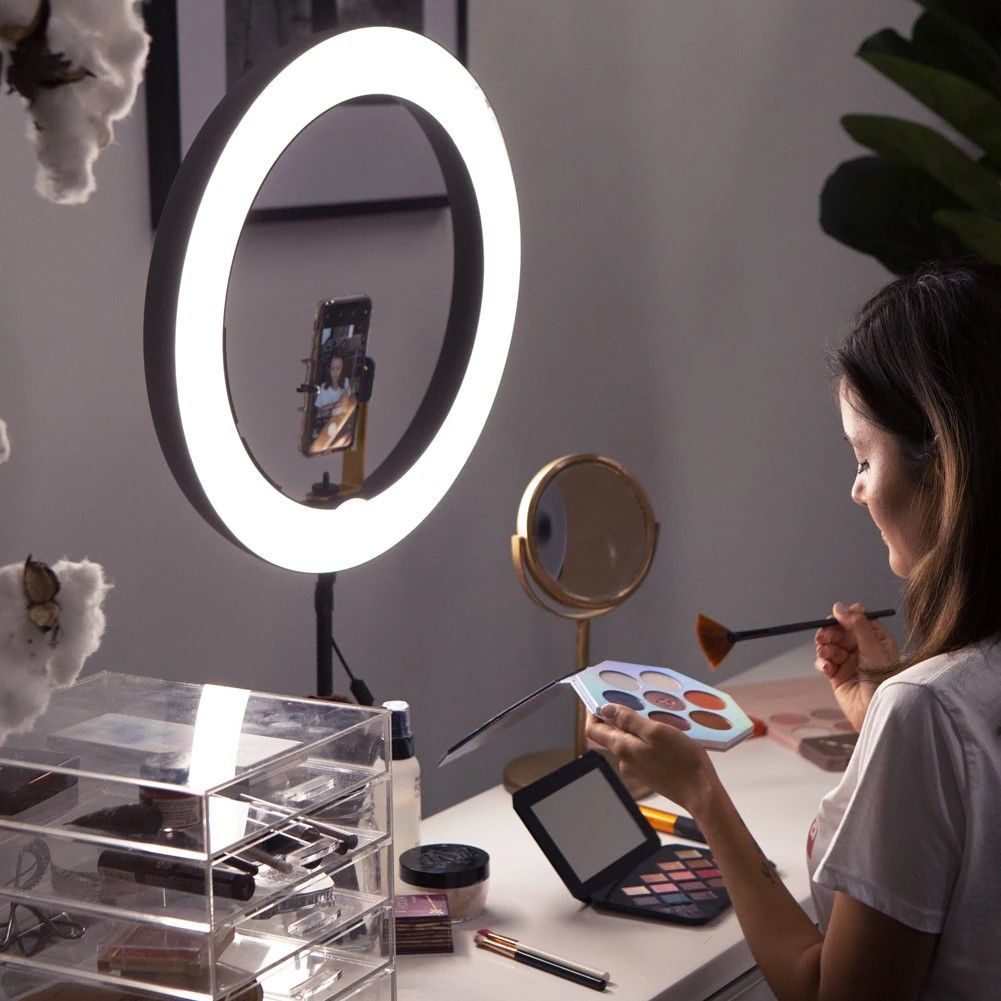
As the Main Light
Big
size ring light usually used as the main lighting, it highlights the three-dimensional sense of
the facial features when illuminated on the face. The main light, which takes
on the role of the main lighting, can make the model's face exposed to light
evenly, which is the first step in creating the lighting of the live studio.
It should be placed on the front of the camera, forming an angle of 0-15 degrees with the optical axis of the lens on the video camera. The light irradiated from this direction is sufficient and uniform, so that the uniform and soft photographic light can be created.
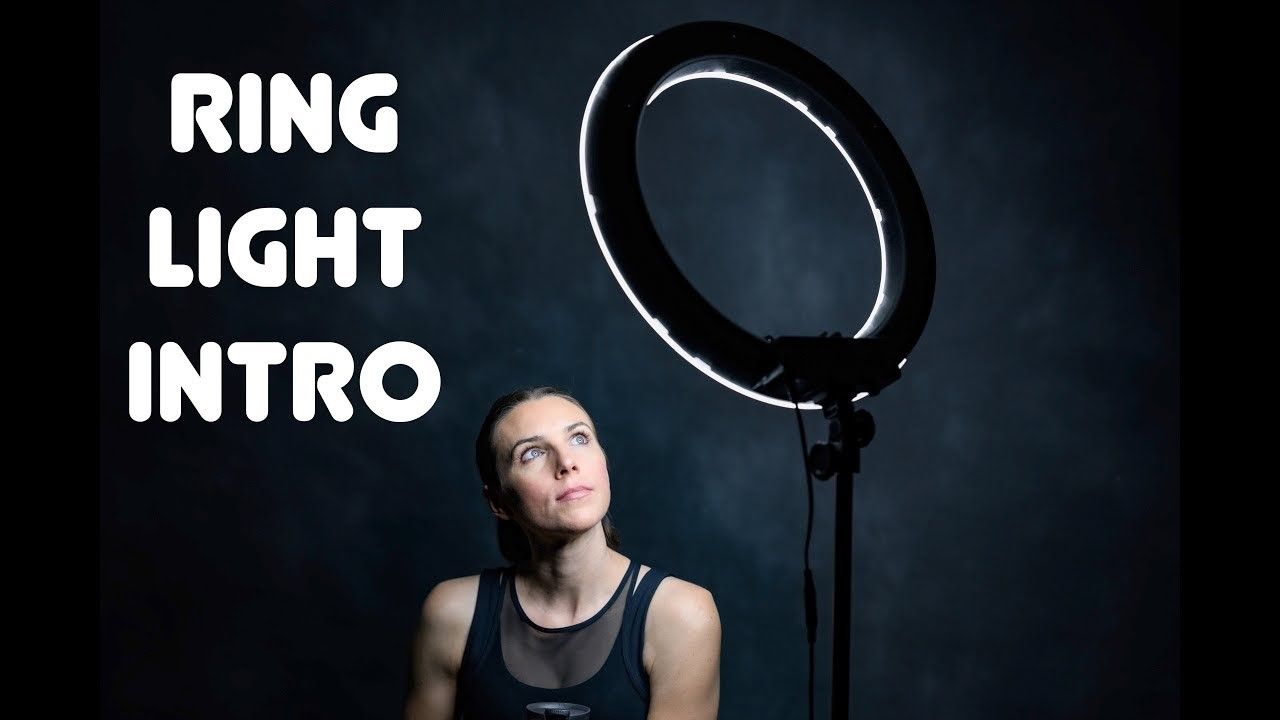
As the Auxiliary Light
The selfie ring
light as auxiliary lights increase the overall three-dimensional
sense and play the role of highlighting the side profile.
It should be illuminated at 90 degrees
from the left and right sides of the subject, and the auxiliary light
illuminated at 45 degrees in the front left can shadow the facial contours and
create a three-dimensional texture.
The auxiliary light irradiated at 45
degrees from the right rear can brighten the silhouette of the back side, which
has a strong contrast with the front side light, which is easy to creating the
three-dimensional of the subject's overall shape.
But pay attention to the adjustment of
the light ratio to avoid overexposure and shadows if the light is too bright.
As the Top
Light
The top light is a light source that
is second to the main light. It illuminates from the top of the head to add
illumination to the background and the ground.
The light shining from above the
subject produces a strong sense of projection, which is conducive to shaping
the contour. The top light position should not exceed two meters for the main
character. The advantages of top light are many, but the disadvantage is that
it is easy to form shadows under the eyes and nose.
As the
Backlight
It is mainly used as background lighting
to make the light in the live studio even and comfortable, and can be well
integrated into a space atmosphere. The background lighting integrates the
atmosphere of the overall environment, which looks real and natural.
A good lighting arrangement can
increase the overall three-dimensional sense of the character, play the role of
highlighting the profile, and bring soft beauty light. Of course, almost all
ring lights have a diffuser to soften the light, create a better lighting
effect, and protect the eyes from harm.
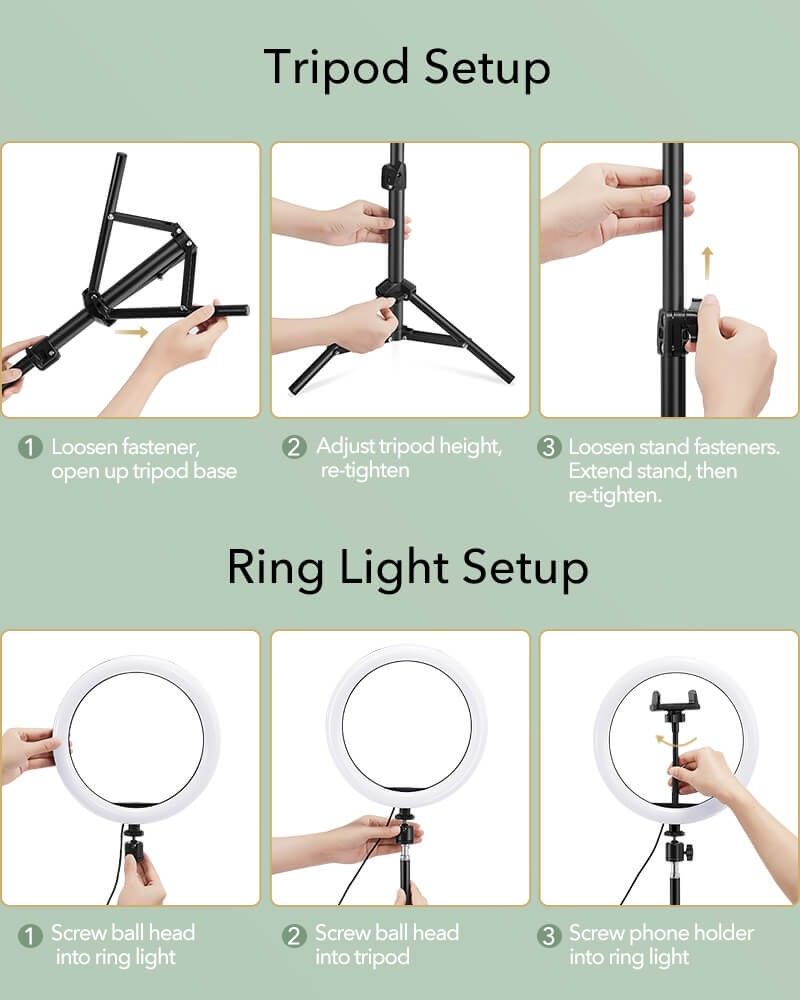
How to Install Selfie Ring Light with Tripod Stand?
1. Loosen the knob at the junction of
the main pole and the tripod, lift the middle pole to the highest point, and
tighten the knob.
2. Then open the three supporting legs
on the tripod to the maximum angle and place them on the ground.
3. Adjust the tripod and the main pole
of the bracket to a suitable height and tighten all the knobs.
4. Complete the assembly of the ring
light and the mini ball head, and then connect with the 1/4-inch screw on the
bracket.
5. Insert 1/4-inch ball head snaps into the ring light, and then align the mobile phone holder with this 1/4-inch ball head and tighten it.
How to Set up Ring Light for Selfie
Turn on the fill light, and then
adjust the ring light to the minimum brightness, and place it at a 45-degree
oblique angle in front of your right, about 30 cm, and the lamp is about 10 cm
above the top of your head. Then adjust the light from dark to bright
gradually, look at the camera, and choose the color temperature you think is
appropriate.
How to Use a Ring Light
1. Place your ring lights. It is
important to place the ring lights for makeup or video. Adjust the position of
the light so that it is directly in front of your (or subject) face. If you
place it above or below, you will find shadows that can ruin your makeup
tutorials.
2. Keep the ring light close enough, and try different distances to find the ideal range to work.
To get the best ring illumination, try
to keep the subject in the center of the ring illumination.
3. Adjust the brightness and color
temperature gradually, and choose the most suitable lighting effect. Different lights
have different color temperatures range. You can also add a diffuser to get a
softer light.
4. Adjust the camera settings to get
the best photo for your creation.
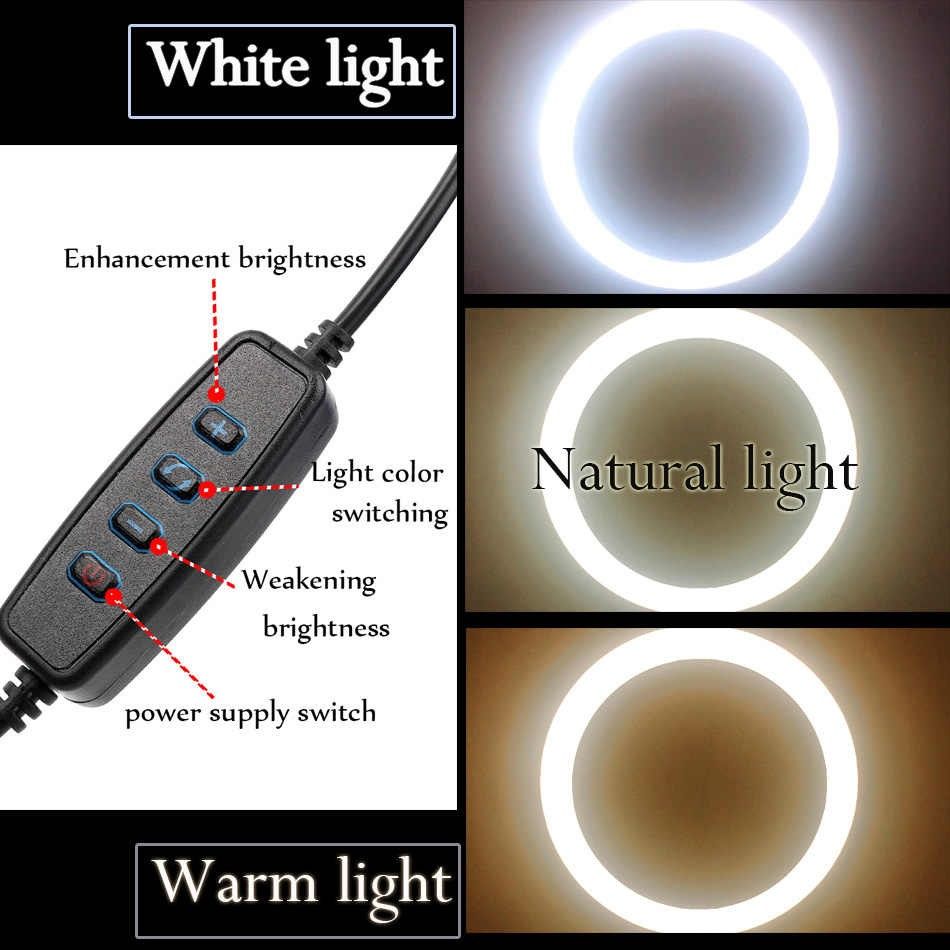
The ring light is an excellent choice for studio lighting, and anyone does not need to spend a lot of time learning how to use ring light for live streaming. I hope this guide about how to assemble ring light to tripod can help you master the basics of using ring lights and help you become the next important KOL.
Related Articles:
What is a Ring Light Used for?
What Does a Ring Light Do for Makeup?


